1 引入
需求:生成C/C++项目的全量/增量覆盖率报告
方案:gcov+lcov+addlcov
gcov:是Linux下GCC自带的一个C/C++代码覆盖率分析工具,因此只要安装了gcc,就不需要再次安装了。
lcov:生成全量覆盖率报告。gcov能够生成代码覆盖信息,但是不够直观,因此需要借助lcov直观展示覆盖率,主要特点有:
- 基于Html输出,并生成一棵完整的HTML树
- 输出包括概述、覆盖率百分比、图表,能快速浏览覆盖率数据
- 支持大项目,提供三个级别的视图:目录视图、文件视图、源码视图
addlcov:生成全量覆盖率报告。
2 准备
文件目录:
1 | C++_project |
Version_A/hello_world.cpp:
1 |
|
Version_B/hello_world.cpp:
1 |
|
3 安装
-
gcov:安装gcc和g++即可;
-
lcov:
1
2
3
4
5git clone https://github.com/Dragonliu2018/lcov.git
cd ./lcov
# 安装perl,否则可能出现报错
apt-get install perl
make install在
./bin目录下生成了可执行文件lcov -
addlcov:
1
git clone https://github.com/Dragonliu2018/addlcov.git
将
addlcov脚本放到项目文件夹直接使用即可。
4 全量覆盖率报告
4.1 lcov常用的参数
-d项目路径,即.gcda .gcno所在的路径-a合并(归并)多个lcov生成的info文件-c捕获,也即收集代码运行后所产生的统计计数信息--external捕获其它目录产生的统计计数文件-i/--initial初始化所有的覆盖率信息,作为基准数据-o生成处理后的文件-r/--remove移除不需要关注的覆盖率信息文件-z重置所有执行程序所产生的统计信息为0
4.2 生成步骤
以Version_A/hello_world.cpp为例:
-
g++ -fprofile-arcs -ftest-coverage hello_world.cpp -o hello_world- 生成
hello_world和hello_world.gcno - 编译时候加两个参数:
-fprofile-arcs -ftest-coverage, 此时会生成:hello_world.gcno
- 生成
-
./hello_world- 生成
hello_world.gcda
- 生成
-
gcov hello_world.cpp生成
hello_world.cpp.gcov,是代码覆盖信息,但看起来并不直观1
2
3
4
5
6
7
8
9
10
11
12-: 0:Source:hello_world.cpp
-: 0:Graph:hello_world.gcno
-: 0:Data:hello_world.gcda
-: 0:Runs:1
-: 0:Programs:1
-: 1:#include<stdio.h>
-: 2:
1: 3:int main()
-: 4:{
1: 5: printf("hello world");
1: 6: return 0;
-: 7:} -
lcov -d . -t 'hello world' -o 'hello_world.info' -b . -c(注意:如果提示lcov命令找不到,则使用lcov的绝对路径)1
/drives/e/lcov/bin/lcov -d . -t 'hello world' -o 'hello_world.info' -b . -c
借助lcov对
hello_world.cpp.gcov进行改造,可以看见生成了hello_world.info:1
2
3
4
5
6
7
8
9
10
11
12TN:hello_world
SF:/drives/e/10 temp/C++_project/Version_A/hello_world.cpp
FN:3,main
FNDA:1,main
DA:3,1
DA:5,1
DA:6,1
FNF:1
FNH:1
LF:3
LH:3
end_of_record -
genhtml -o result hello_world.info(注意:如果提示genhtml命令找不到,则使用genhtml的绝对路径)1
2
3
4
5
6
7
8
9
10
11$ /drives/e/lcov/bin/genhtml -o result hello_world.info
Reading data file hello_world.info
Found 1 entries.
Found common filename prefix "/drives/e/10 temp/C++_project"
Writing .css and .png files.
Generating output.
Processing file Version_A/hello_world.cpp
Writing directory view page.
Overall coverage rate:
lines......: 100.0% (3 of 3 lines)
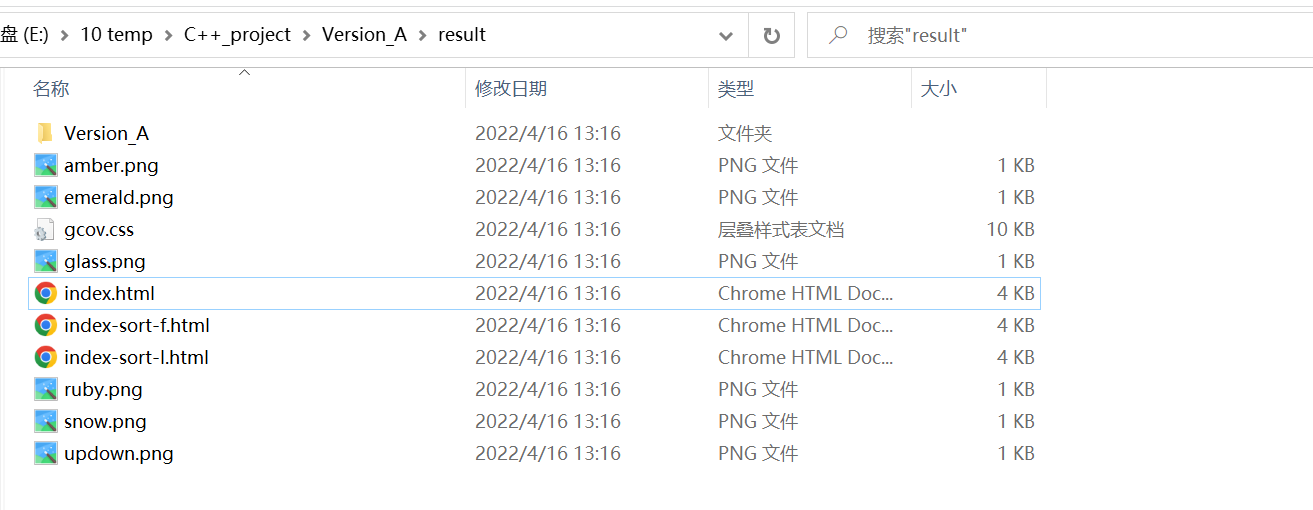
functions..: 100.0% (1 of 1 function)生成了
result文件夹,借助web服务器,结果直观
-
用浏览器打开
index.html:
5 增量覆盖率报告
以Version_A 和 Version_B 为例:
5.1 使用diff命令生成文件差异列表
1 | diff -r -N -x ".git" -x "*.gcov" -u <old_src_path> <new_src_path> > diff.txt |
其中<old_src_path>是Version_A 版本代码路径、<new_src_path>是Version_B 版本代码路径,生成的diff.txt中包含的就是Version_B 相比Version_A的增量代码
所以执行命令:
1 | diff -r -N -x "*.gc*" -x "*.exe" -x "result" -u ./Version_A ./Version_B > diff.txt |
diff.txt中的内容:
1 | --- ./Version_A/hello_world.cpp |
5.2 使用addlcov生成增量代码覆盖率文件
1 | addlcov --diff <full_cov_file> diff.txt -o <add_cov_file> --strip <depth> --path <new_src_path> |
其中<full_cov_file>为之前统计的Version_B版本上的全量覆盖率;<add_cov_file>为输出的增量覆盖率info文件;<depth>是要截取的代码深度;<new_src_path>是Version_B版本源码
这里的<depth>再做一下解释:源码路径一般比较长,假设我们源码路径是a/b/c/d/e,这里的depth取值3则后续生成报告的根目录就是d了,前面三级就被屏蔽掉了。
所以执行命令:
1 | cur_version_dir="/drives/e/10 temp/C++_project/Version_B" |
出现报错:(单文件出现下述问题,多文件无问题)
1 | BReading tracefile ./Version_B/hello_world.info |
解决:--path后面的<new_src_path>路径要使用绝对路径
1 | $ ./addlcov --diff ./Version_B/hello_world.info diff.txt -o addhello_world.info --strip ${depth} --path "/drives/e/10 temp/C++_project/Version_B" |
5.3 使用genhtml生成html格式的覆盖率报告
1 | genhtml -o <report_dir> <add_cov_file> |
其中<report_dir>是想要生成的报告路径名称,<add_cov_file>是通过上一步生成的覆盖率文件
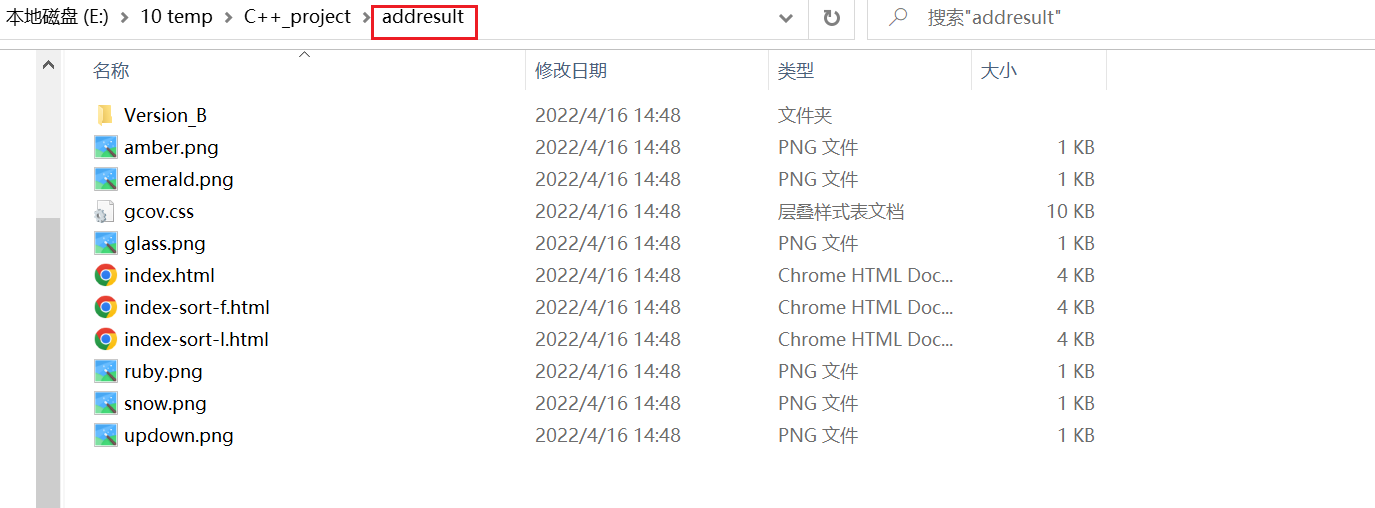
所以执行指令:
1 | genhtml -o addresult addhello_world.info |


