selenium爬虫教程

1 简介

Selenium最初是一个自动化测试工具,Selenium可以驱动浏览器自动执行自定义好的逻辑代码,即通过代码完全模拟使用浏览器自动访问目标站点并操作,所以也可以用来爬虫。

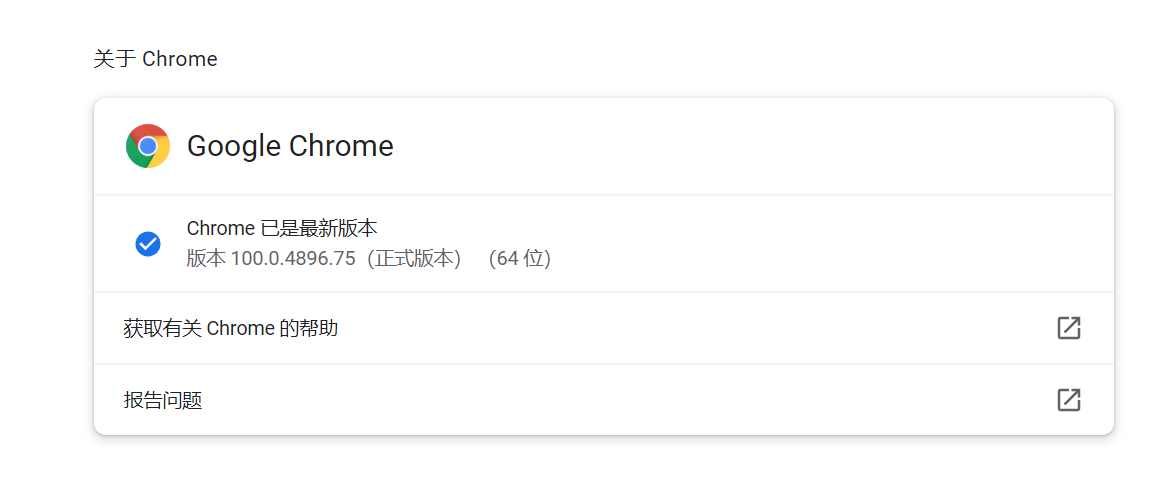
本次教程使用Python3.9.9,谷歌浏览器版本 100.0.4896.75(正式版本) (64 位)

图片名称

2 安装

  1. 安装selenium:pip install selenium

  2. 安装谷歌浏览器驱动,版本要与上面的浏览器版本对应(版本不一定完全一致,尽量一致),驱动下载链接
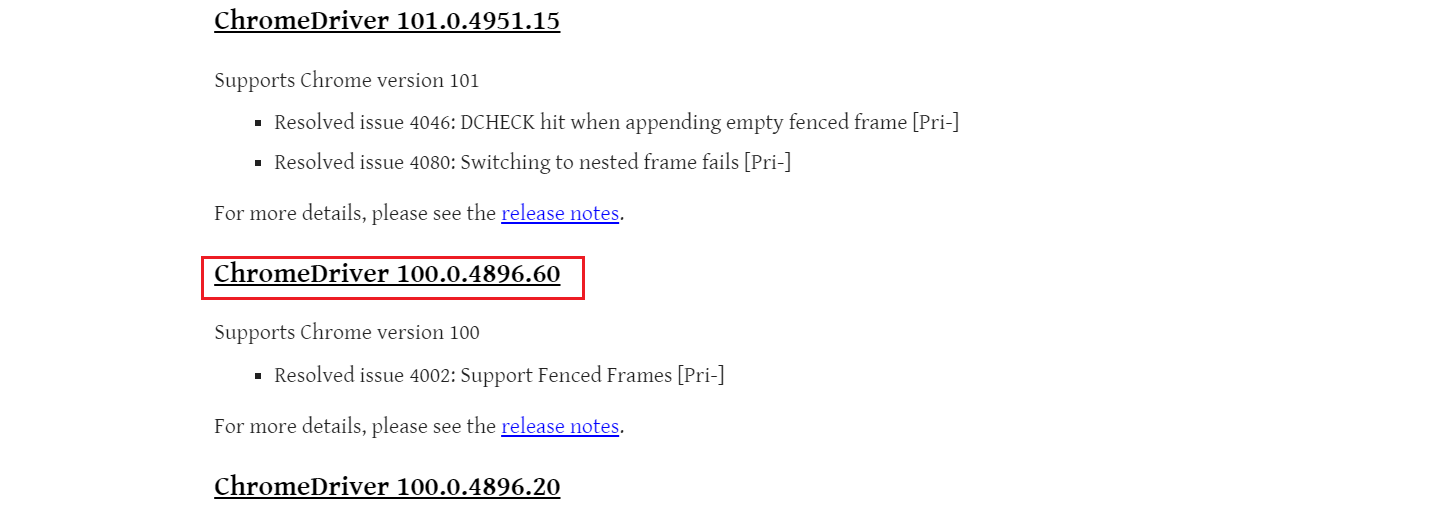
    图片名称
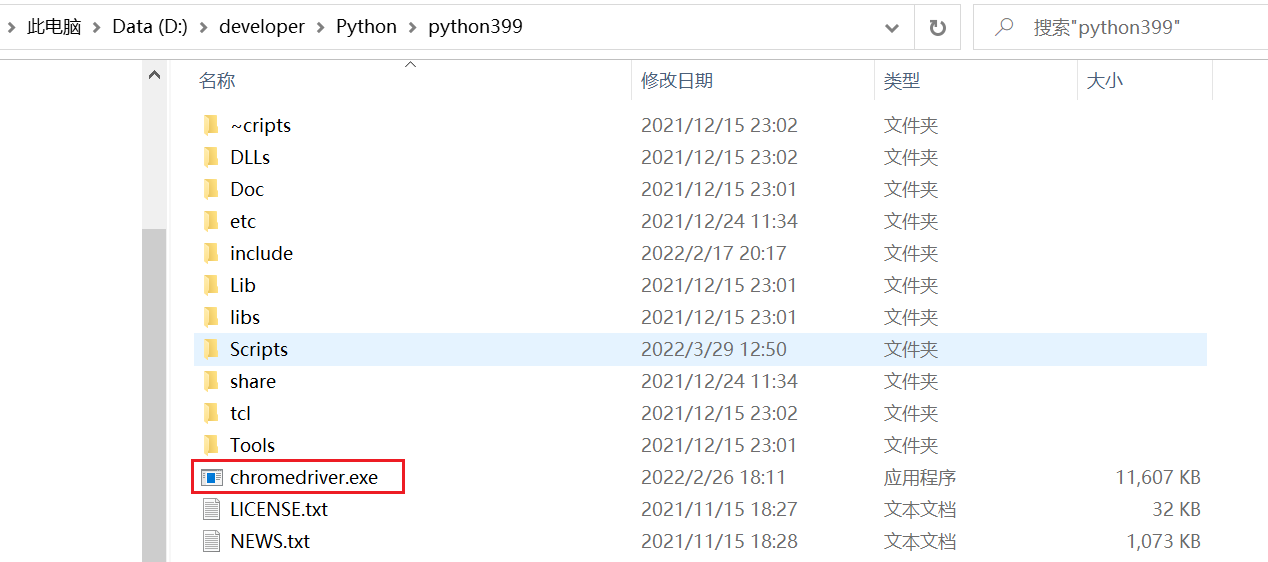
  3. 将下载好的驱动文件解压后放到python安装路径下,使其生效:

    图片名称

3 样例

爬取百度搜索结果

1
2
3
4
5
6
7
8
9
10
11
12
13
14
15
16
17
18
19
20
21
22
23
24
25
26
27
28
29
30
31
from time import sleep
from selenium import webdriver
from selenium.webdriver.common.by import By

# 配置浏览器
co = webdriver.ChromeOptions()
co.headless = False
browser = webdriver.Chrome(options=co)

# 打开指定url
browser.implicitly_wait(30)
url = 'https://www.baidu.com'
browser.get(url)

# 定位操作
browser.find_element(by=By.ID, value='kw').send_keys("python") # 输入框
browser.find_element(by=By.ID, value='su').click() # 点击搜索按钮
elements = browser.find_elements(by=By.CLASS_NAME, value='c-container') # 查找到所有c-container类

# 输出结果
for element in elements:
span = element.find_element(by=By.TAG_NAME, value='a')
print(span.text)
# print(span.get_attribute('innerHTML'))

# 爬取完毕,退出浏览器
sleep(2)
browser.quit()

if __name__ == "__main__":
pass

代码解读

  1. 配置浏览器,当co.headless = False时候有界面化(默认);当co.headless = True时为无头浏览器,也就是无界面化浏览器。

  2. 百度服务器响应存在延迟,所以很可能造成接下来的代码执行失败,因此执行 browser.implicitly_wait(30)。这样如果找不到元素,每隔半秒钟再去界面上查看一次, 直到找到该元素, 或者过了30秒最大时长。

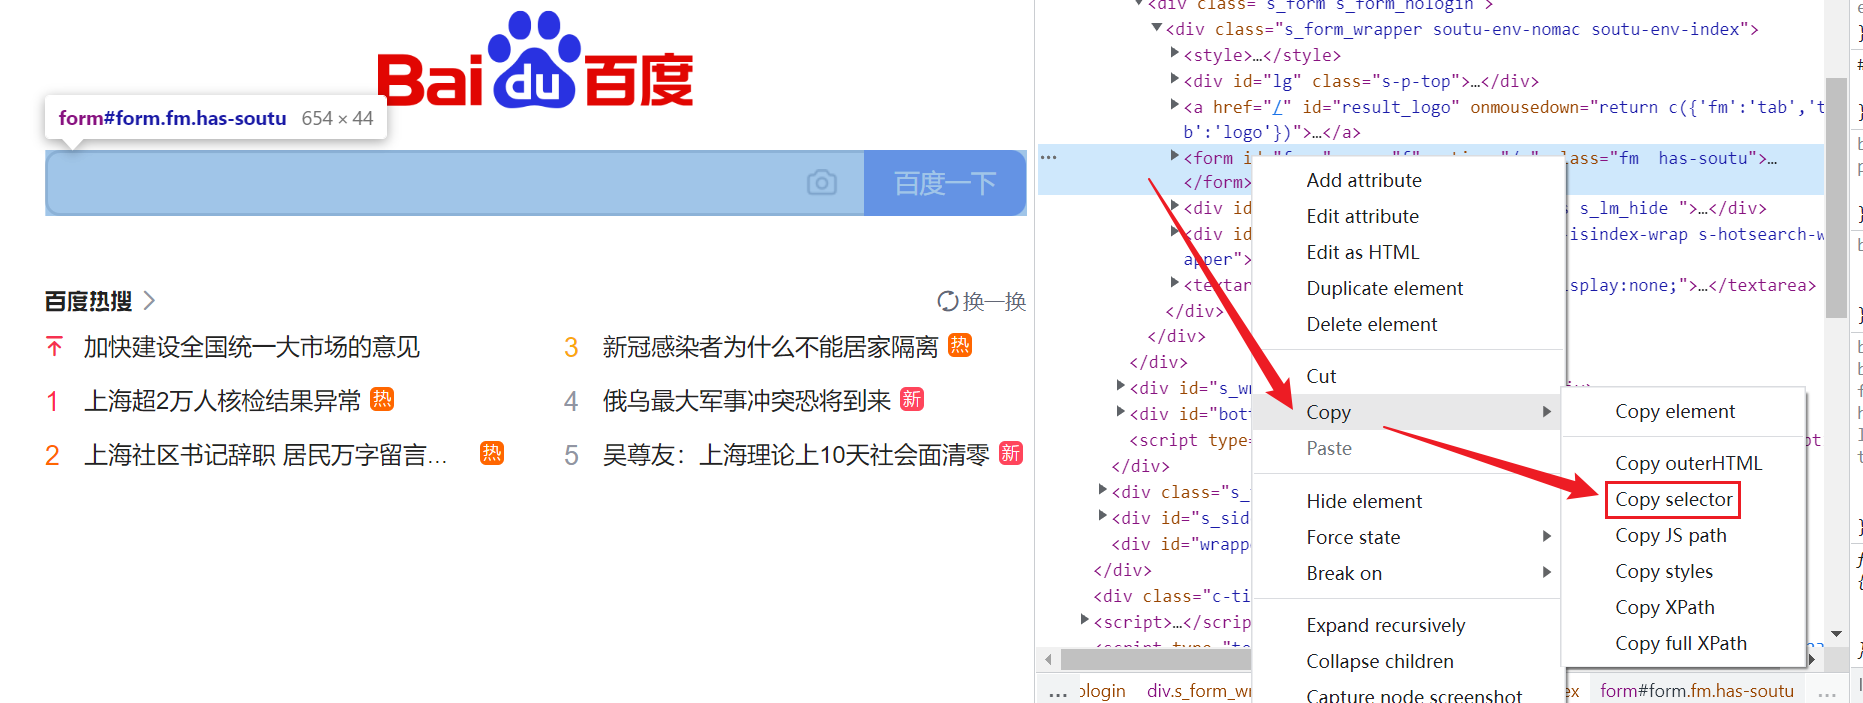
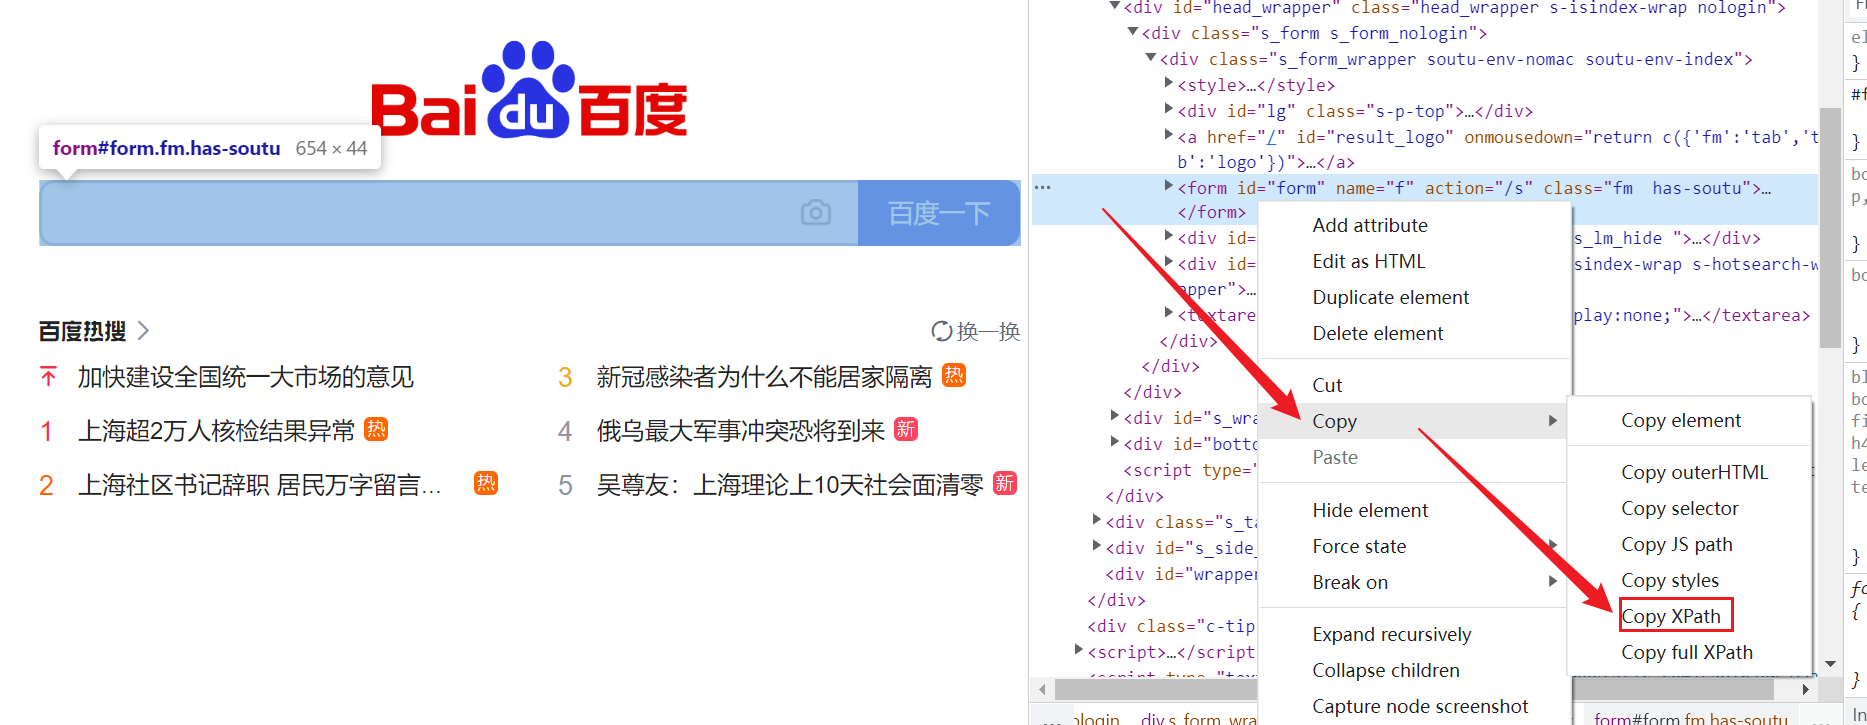
  3. 利用chrome的f12开查找搜索框和搜索按钮的id:

    图片名称

    根据ID定位有两种写法:

    1
    2
    browser.find_element_by_id('kw')  # 已废弃
    browser.find_element(by=By.ID, 'kw') # 推荐

    第一种写法会报warning:selenium弃用警告DeprecationWarning

    1
    2
    DeprecationWarning: find_element_by_* commands are deprecated. Please use find_element() instead
    browser.find_element_by_id('kw').send_keys("python") # 输入框

    send_keys()方法可以在对应的元素中输入字符串;click()方法是点击该元素。

  4. find_elements()返回的是找到的符合条件的所有元素,放在一个列表中返回;find_element()只会返回第一个元素。

4 定位元素

find_elements()返回的是找到的符合条件的所有元素,放在一个列表中返回;find_element()只会返回第一个元素。

4.1 id

1
<div id="coolestWidgetEvah">...</div>
1
element = driver.find_element(by=By.ID, value="coolestWidgetEvah")

4.2 class name

1
<div class="cheese"><span>Cheddar</span></div><div class="cheese"><span>Gouda</span></div>
1
cheeses = driver.find_elements(By.CLASS_NAME, "cheese")

4.3 tag name

1
<iframe src="..."></iframe>
1
frame = driver.find_element(By.TAG_NAME, "iframe")

4.4 name

1
<input name="cheese" type="text"/>
1
cheese = driver.find_element(By.NAME, "cheese")
1
<a href="http://www.google.com/search?q=cheese">cheese</a>
1
cheese = driver.find_element(By.PARTIAL_LINK_TEXT, "cheese")
1
<a href="http://www.google.com/search?q=cheese">search for cheese</a>
1
cheese = driver.find_element(By.PARTIAL_LINK_TEXT, "cheese")

4.7 css selector

1
<div id="food"><span class="dairy">milk</span><span class="dairy aged">cheese</span></div>
图片名称
1
cheese = driver.find_element(By.CSS_SELECTOR, "#food span.dairy.aged")

4.8 xpath

1
2
<input type="text" name="example" />
<INPUT type="text" name="other" />
图片名称
1
inputs = driver.find_elements(By.XPATH, "//input")

5 鼠标动作链

有些时候,我们需要再页面上模拟一些鼠标操作,比如双击、右击、拖拽甚至按住不动等,我们可以通过导入 ActionChains 类来做到:

1
2
3
4
5
6
7
8
9
10
11
12
13
14
15
16
17
18
19
20
21
22
23
24
25
26
27
28
#导入 ActionChains 类
from selenium.webdriver import ActionChains

# 鼠标移动到 ac 位置
ac = driver.find_element_by_xpath('element')
ActionChains(driver).move_to_element(ac).perform()


# 在 ac 位置单击
ac = driver.find_element_by_xpath("elementA")
ActionChains(driver).move_to_element(ac).click(ac).perform()

# 在 ac 位置双击
ac = driver.find_element_by_xpath("elementB")
ActionChains(driver).move_to_element(ac).double_click(ac).perform()

# 在 ac 位置右击
ac = driver.find_element_by_xpath("elementC")
ActionChains(driver).move_to_element(ac).context_click(ac).perform()

# 在 ac 位置左键单击hold住
ac = driver.find_element_by_xpath('elementF')
ActionChains(driver).move_to_element(ac).click_and_hold(ac).perform()

# 将 ac1 拖拽到 ac2 位置
ac1 = driver.find_element_by_xpath('elementD')
ac2 = driver.find_element_by_xpath('elementE')
ActionChains(driver).drag_and_drop(ac1, ac2).perform()

6 页面等待

现在的网页越来越多采用了 Ajax 技术,这样程序便不能确定何时某个元素完全加载出来了。如果实际页面等待时间过长导致某个dom元素还没出来,但是你的代码直接使用了这个WebElement,那么就会抛出NullPointer的异常。

为了避免这种元素定位困难而且会提高产生 ElementNotVisibleException 的概率。所以 Selenium 提供了两种等待方式,一种是隐式等待,一种是显式等待。

隐式等待是等待特定的时间,显式等待是指定某一条件直到这个条件成立时继续执行。

6.1 显式等待

显式等待指定某个条件,然后设置最长等待时间。如果在这个时间还没有找到元素,那么便会抛出异常了。

1
2
3
4
5
6
7
8
9
10
11
12
13
14
15
16
from selenium import webdriver
from selenium.webdriver.common.by import By
# WebDriverWait 库,负责循环等待
from selenium.webdriver.support.ui import WebDriverWait
# expected_conditions 类,负责条件出发
from selenium.webdriver.support import expected_conditions as EC

driver = webdriver.Chrome()
driver.get("http://www.xxxxx.com/loading")
try:
# 页面一直循环,直到 id="myDynamicElement" 出现
element = WebDriverWait(driver, 10).until(
EC.presence_of_element_located((By.ID, "myDynamicElement"))
)
finally:
driver.quit()

如果不写参数,程序默认会 0.5s 调用一次来查看元素是否已经生成,如果本来元素就是存在的,那么会立即返回。

下面是一些内置的等待条件,你可以直接调用这些条件,而不用自己写某些等待条件了。

1
2
3
4
5
6
7
8
9
10
11
12
13
14
15
16
17
title_is
title_contains
presence_of_element_located
visibility_of_element_located
visibility_of
presence_of_all_elements_located
text_to_be_present_in_element
text_to_be_present_in_element_value
frame_to_be_available_and_switch_to_it
invisibility_of_element_located
element_to_be_clickable – it is Displayed and Enabled.
staleness_of
element_to_be_selected
element_located_to_be_selected
element_selection_state_to_be
element_located_selection_state_to_be
alert_is_present

6.2 隐式等待

隐式等待比较简单,就是简单地设置一个等待时间,单位为秒。当然如果不设置,默认等待时间为0。

上面的样例就使用的这种等待方式。

1
2
3
4
5
6
from selenium import webdriver

driver = webdriver.Chrome()
driver.implicitly_wait(10) # seconds
driver.get("http://www.xxxxx.com/loading")
myDynamicElement = driver.find_element_by_id("myDynamicElement")

X 参考